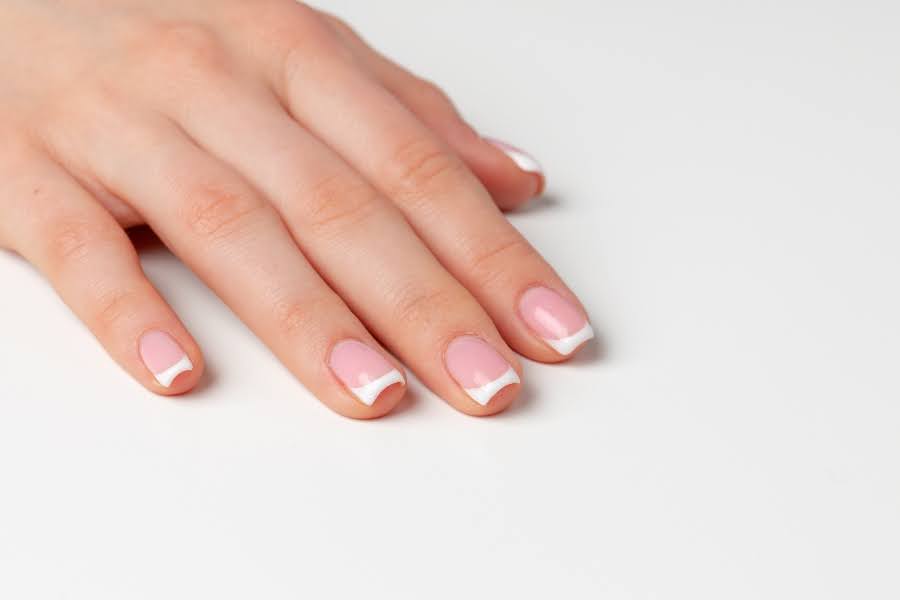
French nails, also known as French manicures, have been a staple in the beauty industry for decades. From celebrities walking the red carpet to office workers typing at their desks, this classic nail style remains a favorite. But what makes French nails so eternally popular? How can you achieve the perfect look at home? And what creative variations exist beyond the traditional style? Let’s explore these questions in simple, straightforward language.
Why French Nails Never Go Out of Style?
French nails have maintained their popularity for several good reasons. First, they are incredibly versatile. The combination of a natural pink or nude base with white tips complements absolutely any outfit, from casual jeans to elegant evening gowns. They work for every occasion—job interviews, weddings, vacations, or daily life.
Second, French nails flatter everyone. Unlike bold colors that might clash with your skin tone or outfit, the soft palette of a French manicure enhances the natural beauty of your hands. The white tips make fingers appear longer and more elegant, while the neutral base keeps the look subtle and sophisticated.
Third, they represent effortless elegance. French nails say you care about your appearance without trying too hard. They’re polished but not flashy, neat but not boring. This balance is hard to achieve with other nail styles.
Finally, French nails are timeless. Fashion trends come and go—neon colors, glitter, matte finishes—but the French manicure remains. It’s like the little black dress of nail art: always appropriate, always stylish.
Step-by-Step Guide to Perfect French Nails
Creating beautiful French nails at home is easier than you might think. Here’s a simple step-by-step process:
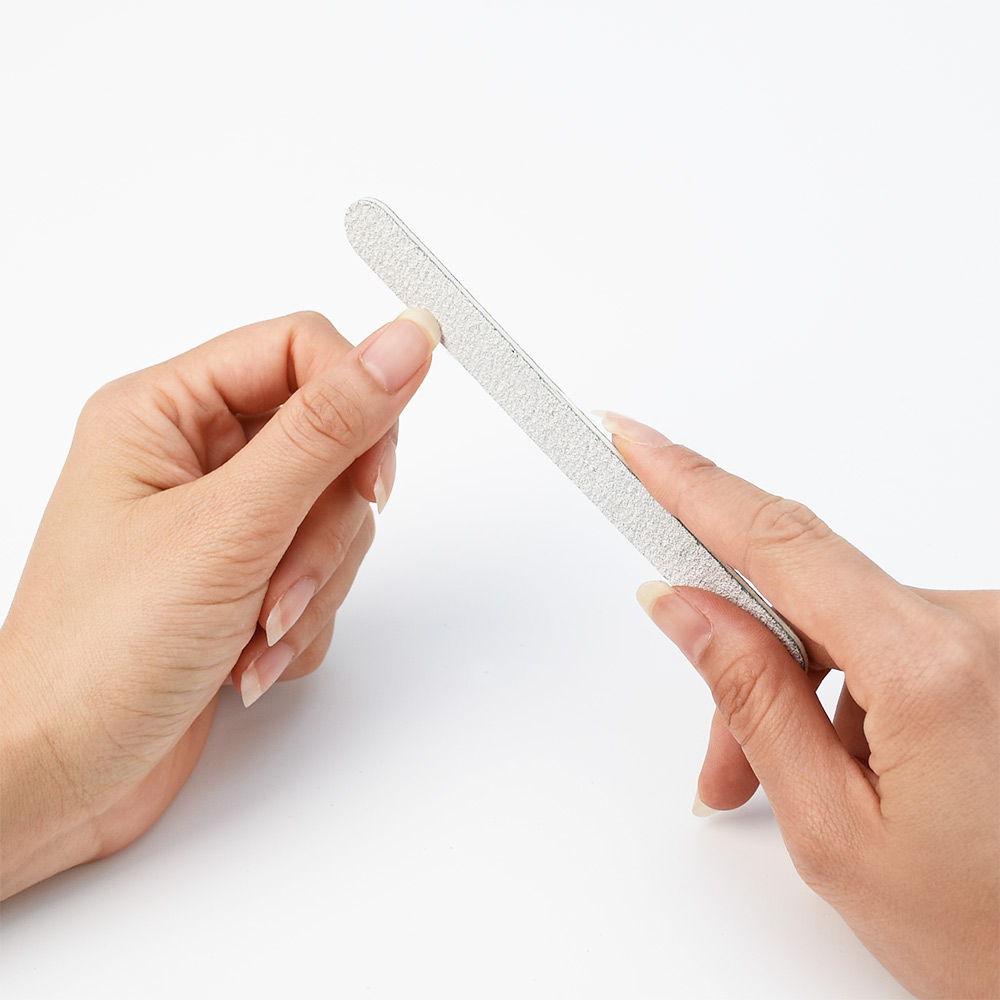
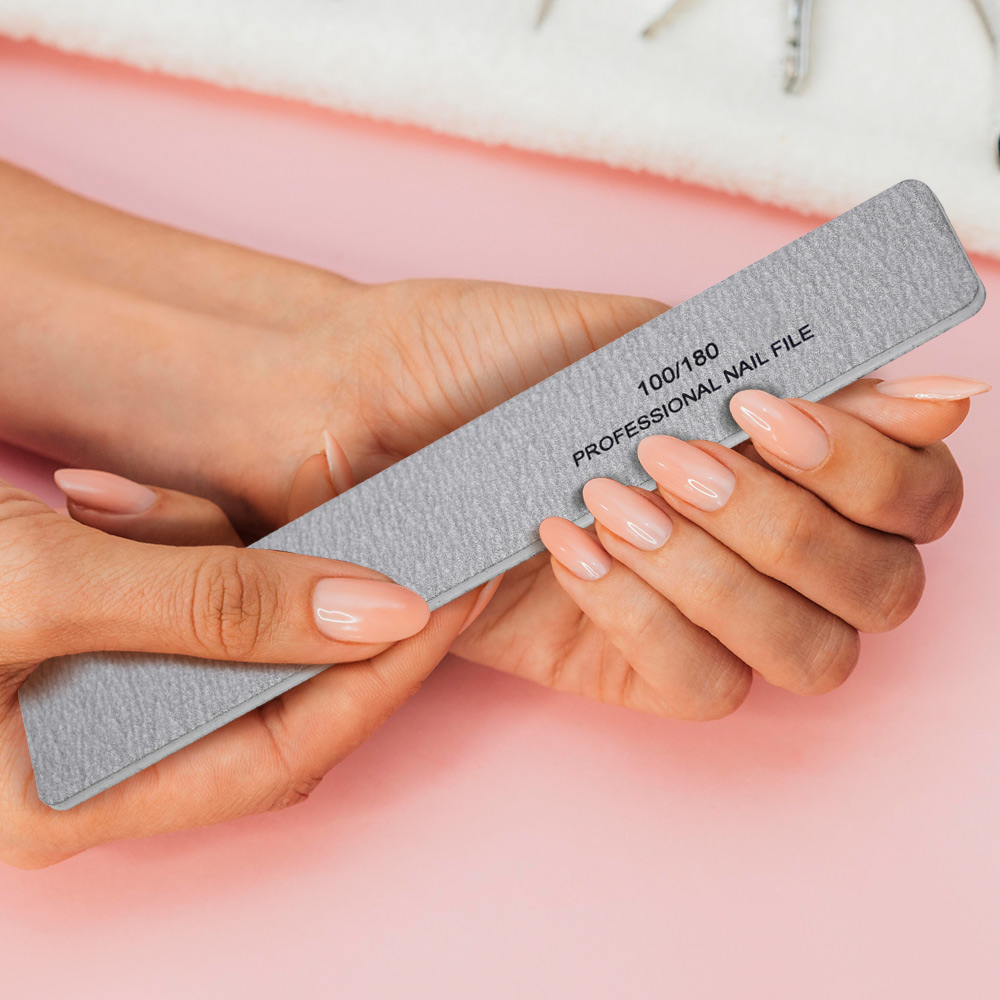
Step 1: Prepare your nails. Start with clean, dry nails. Remove any old polish, trim and shape your nails to your desired length with a nail file. Oval or squoval shapes work best for French tips. Gently push back your cuticles and buff the nail surface lightly so the polish adheres better.
Step 2: Apply a base coat. This protects your natural nails and helps the color stick. Let it dry completely.
Step 3: Paint the base color. Choose a sheer pink, beige, or nude polish. Apply one or two thin coats, allowing each to dry. The goal is a natural, “your nails but better” look.
Step 4: Create the white tips. This is the most important step. You have several options:
- Use French tip guides (sticky strips that create a clean line)
- Draw the line freehand with a steady hand
- Use a white nail art pen for more control
Paint the white polish along the free edge of your nail. For a classic look, follow the natural curve of your smile line. For modern styles, you can make the line straighter or thicker.
Step 5: Seal with a top coat. Once the white tips are completely dry, apply a clear top coat. This adds shine and makes your manicure last longer.
Tips and Tricks for Professional Results
Getting flawless French nails takes practice, but these tips will help:
For crisp white lines, ensure your base color is completely dry before painting the tips. Wet polish underneath will smudge. If you make mistakes, dip a small brush in nail polish remover and carefully clean up the edges.
The thickness of the white tip matters. Thin tips look elegant and natural; thick tips can look bold and modern. Choose what suits your nail length and personal style.
Always apply thin coats of polish. Thick coats take forever to dry and are more likely to chip or bubble. Two thin coats are better than one thick coat.
If you don’t have a steady hand, try the “band aid method.” Place a small piece of tape or a sticker guide across your nail, leaving only the tip exposed. Paint, wait a minute, then carefully remove the tape.
Popular French Nail Designs and Variations
While the classic white-tipped French manicure is beautiful, modern variations offer exciting options:
Colored tips replace white with any color—pastels for spring, brights for summer, darks for fall. Black tips look especially edgy and modern.
Glitter tips add sparkle to the classic style. Use glitter polish on the tips for special occasions or parties.
Reverse French paints the base of the nail near the cuticle instead of the tip. This creates a unique half-moon design that’s both vintage and trendy.
Diagonal French breaks from tradition by angling the tip line diagonally across the nail instead of following the natural curve. This geometric look feels fresh and contemporary.
Ombré French blends the white tip gradually into the base color, creating a soft gradient effect. This romantic style requires more skill but looks stunning.
Micro French uses an extremely thin white line, almost like a delicate border. This minimalist approach is subtle and sophisticated.
Double line French adds a thin colored line between the base and the white tip, creating visual interest with extra detail.
French nails continue to evolve while maintaining their essential elegance. Whether you prefer the classic version or enjoy experimenting with modern twists, this timeless style offers something for everyone. With a little practice and patience, you can achieve salon-quality French nails at home and enjoy their beauty every day.
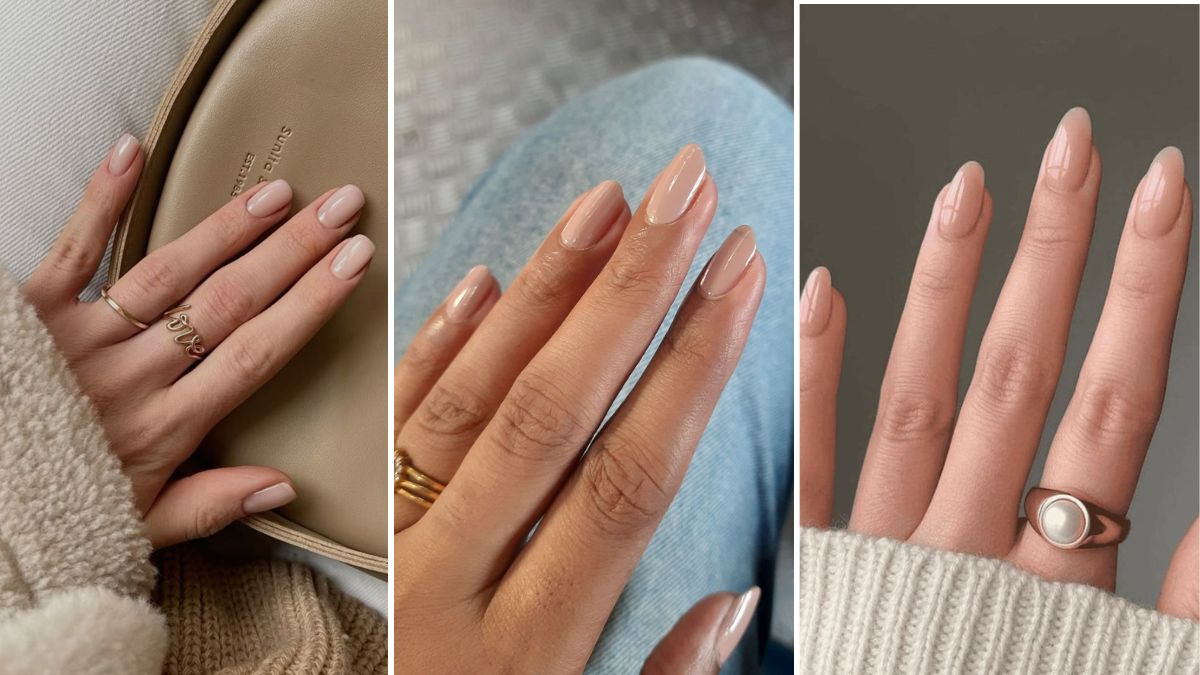
Read also: The Art of Effortless Elegance: Your Guide to Nude Nails